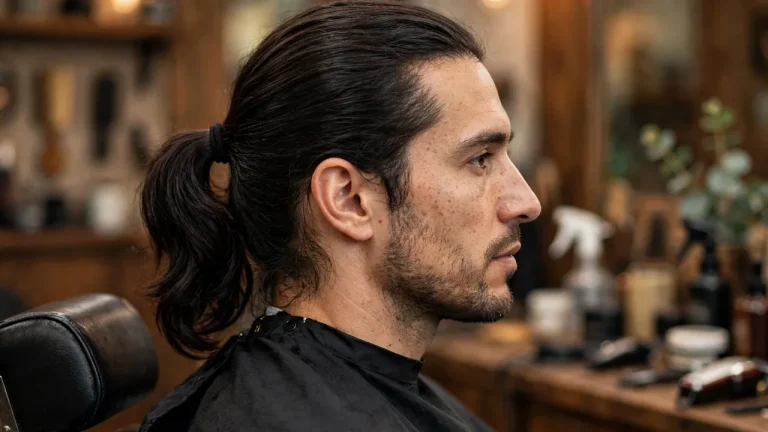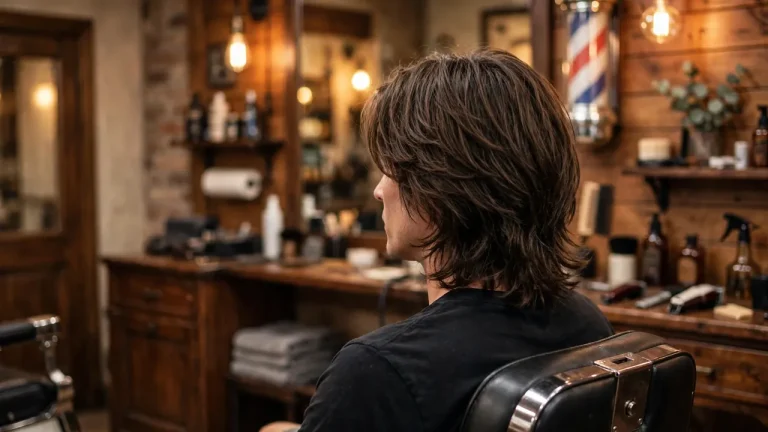
Bro Flow Hairstyle, Growing It Out and Styling the Flow

The bro flow is a medium length layered haircut worn swept back so the hair moves and falls naturally instead of sitting stiff. You need about 4 to 6 inches on top, grown out over several months, with soft scissor layering to create movement. This guide covers the full playbook: the grow out timeline, the exact barber script, variations for straight, wavy, and curly hair, and a morning styling routine that takes about five minutes.
What the Bro Flow Hairstyle Actually Is
The flow is not really a cut in the traditional sense. It is a grow out with intention. The top and back are kept long enough to move, the layers are cut to remove weight, and everything is directed back and slightly to the side so the hair falls in one direction. Unlike a fade, which is about contrast between short sides and a styled top, the flow is about length and movement everywhere on the head.
You will also hear it called hockey flow or simply the flow. It suits guys who like a relaxed look that still reads polished, and it works across ages because it never looks overdone. The trade off is patience. There is no shortcut to the length, and the months in between test everyone who tries it.
The Hockey Roots of the Flow
The nickname comes from the rink. Hockey players famously grew their hair long during the season until it spilled out from under their helmets, and the look became part of the sport’s culture. The lineage goes back further than most people realize. Wikipedia’s article on the wings haircut traces the long, flowing style through the 1960s and 1970s, when it moved from surfer subculture into the mainstream and then onto the ice.
Today the flow has outgrown hockey. Actors, musicians, and plenty of regular guys wear it, and the history of hockey flow shows how a locker room tradition turned into one of the most requested longer styles in barbershops. The modern barbershop version is cleaner than the helmet original, with shaped layers instead of neglected length.
Flow vs Curtain Cut vs Wolf Cut
These three get mixed up constantly, so here is the simple split. The curtain cut parts down the middle and frames the face with length on both sides. Our curtain haircut guide breaks that style down in full. The wolf cut is choppier, with heavy shag layers and volume stacked at the crown. See our wolf cut breakdown for the details. The flow sits between them: longer and looser than a curtain cut, softer and more natural than a wolf cut, and always swept back rather than parted down the middle.
| Style | How it is worn | Layers | Styling effort |
|---|---|---|---|
| Bro flow | Swept back with natural movement | Soft, long layers | Low to medium |
| Curtain cut | Middle part framing the face | Medium layers around the face | Medium |
| Wolf cut | Tousled with volume at the crown | Choppy shag layers | Medium to high |
How Long You Need to Grow the Flow
Here is the part nobody wants to hear. If you are starting from a short back and sides, plan on 4 to 6 months of growing before the flow looks like a flow. If you already have 3 or 4 inches on top, you are roughly 2 to 3 months away. Hair grows about half an inch a month, so the math is simple even if the waiting is not.
The smart move during the grow out is to keep getting trims. Ask your barber to clean up the neckline and around the ears while leaving the top and back alone. That keeps you looking intentional instead of neglected. Longer hair also needs more care than a short cut, so our long hair care guide is worth reading while you grow: conditioner becomes non negotiable once the ends start drying out.
The Awkward Middle Phase and How to Survive It
Around month two or three, your hair will stick out sideways and refuse to go back. This is normal and it ends. A light styling cream or sea salt spray gives the sides enough weight to lie down, and wearing it pushed back trains the direction over time. Hats help on bad days. What does not help is quitting at week ten and buzzing it all off, which is where most failed flows end.
| Phase | Length on top | Timeframe | What to do |
|---|---|---|---|
| The grow out | Under 2 inches | Months 1 to 2 | Trim the neckline only and start conditioning regularly |
| The awkward phase | 2 to 4 inches | Months 2 to 4 | Use light product, wear it pushed back, resist the urge to cut |
| Early flow | 4 to 5 inches | Months 4 to 5 | First real shaping trim with light layering |
| Full flow | 5 to 6 inches and up | Month 6 and beyond | Maintain with shaping trims every 6 to 8 weeks |
Bro Flow Variations for Every Hair Type
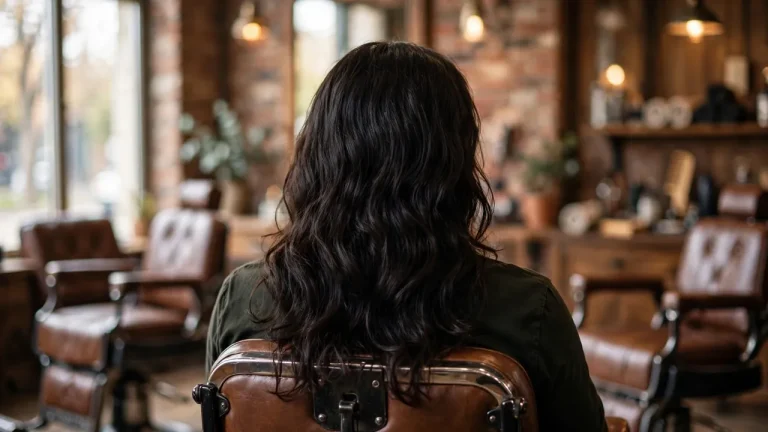
The flow is forgiving because length hides a lot, but the right variation depends on your hair type and how sharp you want the edges. Straight hair shows the flow lines best. Wavy hair gets natural movement for free. Curly hair brings volume but needs more layering so the shape does not turn into a triangle. Pick the version that matches your hair and your tolerance for upkeep.
Classic Flow
This is the original: sides grown out with the top, scissors only, no fade at all. The whole head is one flowing shape, longest at the back. It is the lowest maintenance version once the length is there, and it suits oval and heart shaped faces particularly well. The only requirement is commitment to the grow out.

Flow With a Low Taper Fade
If the classic feels too shaggy around the edges, keep the flow on top and taper the sideburns and neckline low. This is the low taper fade flow variation, and it is the most popular version in barbershops right now because it looks deliberate from every angle. The taper should stay subtle and natural. A harsh skin fade against a soft flow looks like two haircuts arguing. Our low taper fade guide shows exactly where the taper should sit.

Flow With a Burst Fade
For a bolder edge, the burst fade version curves the fade around the ear while the top keeps flowing. It works best on straight to wavy hair, where the contrast between the clean curve and the loose top really shows. It needs more frequent cleanups than the classic, since the burst line blurs fast as it grows.

Wavy and Curly Flow
Waves and curls were made for this cut. The natural bend creates movement without any styling effort, and the layers keep the shape from getting bottom heavy. The main rule for curly hair is to cut it dry or stretched so the barber sees the true length, and to ask for enough layering through the middle to remove bulk. A curl cream instead of a matte clay keeps the definition without frizz.

Flow and Face Shapes
Oval faces can wear any version of the flow without much thought. If your face is round, keep the height at the crown and avoid pushing the sides out wide, since width at the cheeks makes a round face look rounder. Square jawlines benefit from softer layers around the temples, which take the edge off a strong jaw. Oblong faces should avoid very long, flat lengths that stretch the face further, while medium layers with a bit of side width balance things out. Heart shaped faces do best when the volume stays low at the crown and the length falls closer to the jaw, filling out a narrower chin.
Pairing the Flow With a Beard
A short boxed beard is the natural partner for the flow. The beard adds structure under all that length, and keeping the neckline and cheek lines sharp stops the whole look from reading unkempt. Longer beards work too, but they need the same 6 to 8 week shaping rhythm as the hair, or the proportions tip. If you stay clean shaven, keep the hairline and sideburns crisp so the cut still looks deliberate.
The Exact Barber Script for the Flow
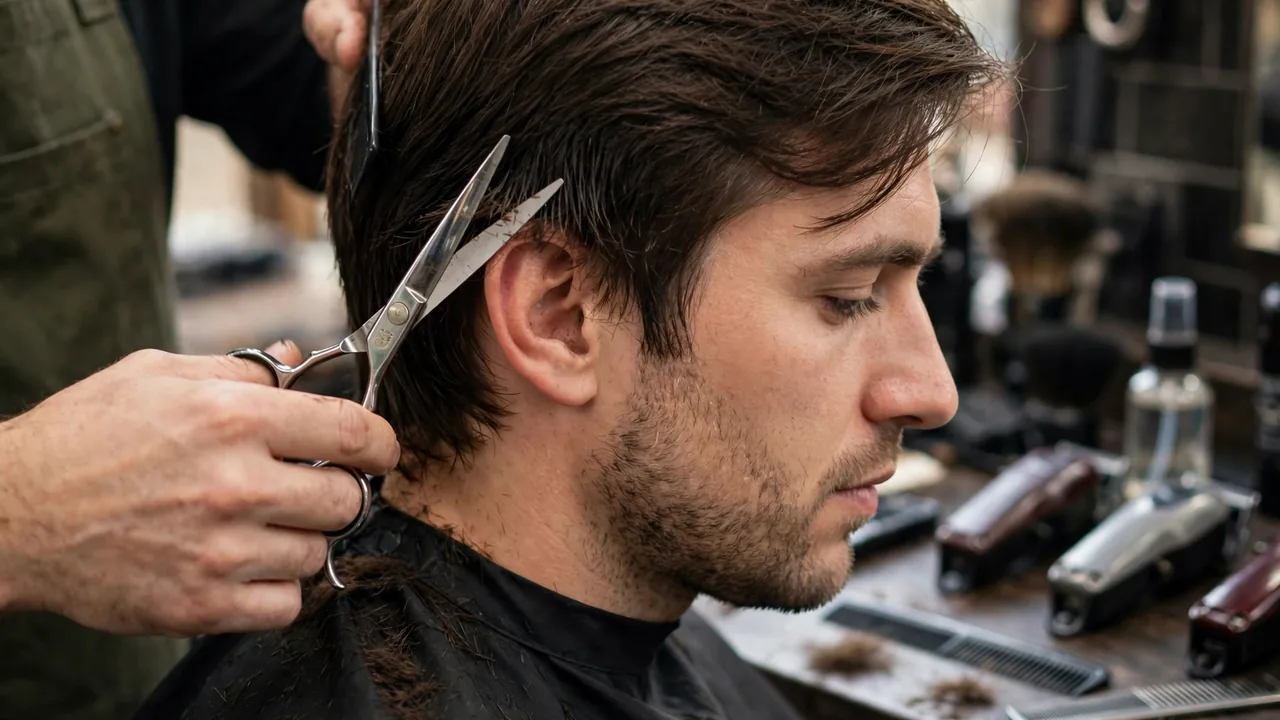
Words mean different things to different barbers, so say this clearly: “I am growing out a flow. Keep all the length on top and in the back. I want long, soft layers for movement, no hard lines, scissors only on top. Clean up around the ears and taper the neckline naturally. No skin fade, no hard part. Thin out the bulk underneath if it gets heavy, but keep the ends soft.”
Bring a photo of the exact length and flow direction you want. A reference photo removes the guesswork that causes most bad flow cuts, which usually come from a barber taking too much off the back. If you want to see the cut done right before your appointment, this flow haircut tutorial walks through the layering and shaping step by step.
How to Style the Flow Every Morning
The flow rewards a simple routine and punishes over styling. Heavy product kills the movement that makes the cut work, so the goal is texture and direction, not hold. Five honest minutes is enough once you have done it a few times. If you like a messier finish, our messy hairstyles guide has texture ideas that pair well with longer flow length.
The Five Minute Morning Routine
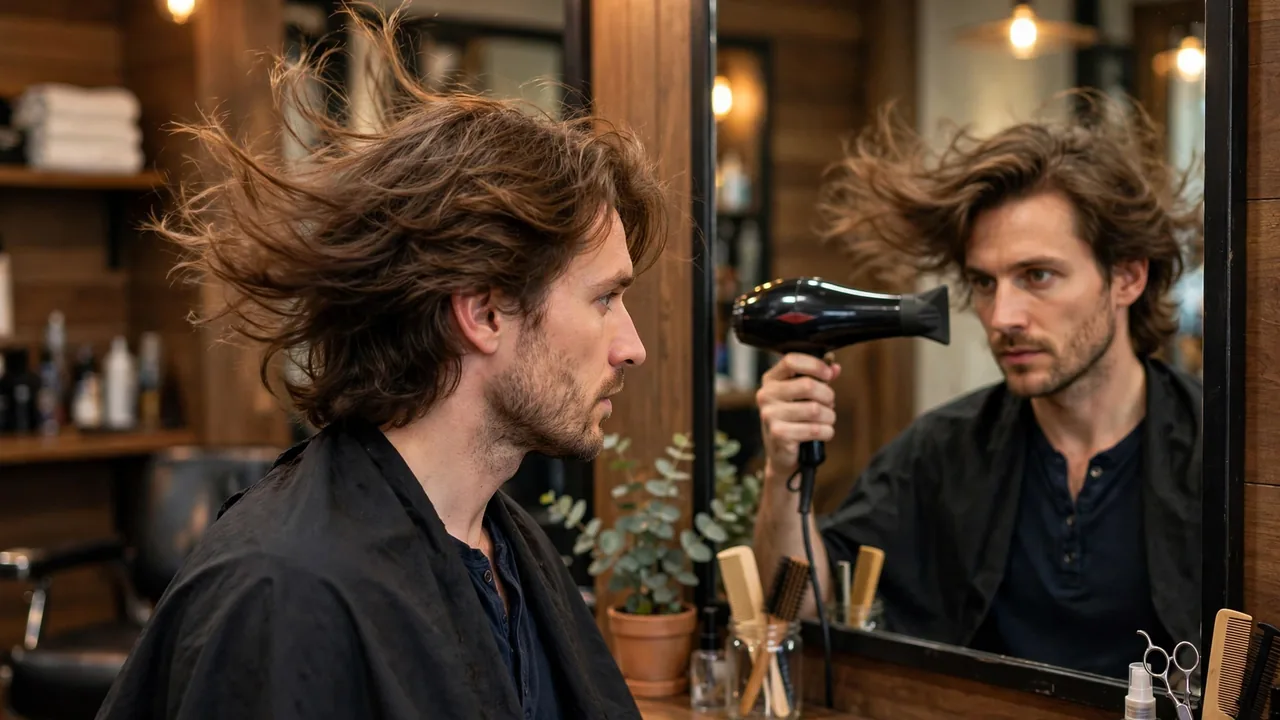
Start with damp hair, either from the shower or a spray bottle. Work a small amount of sea salt spray or light mousse through from roots to ends. Then blow dry everything back and slightly to the side, using your fingers instead of a brush so the texture stays natural. A quick mist of heat protectant before the dryer keeps the ends from frying over months of daily styling. Finish with a pea sized amount of matte clay, worked through the ends only, to define the flow lines. That is the whole routine.
Products That Work and the Ones to Skip
Three products cover most guys: sea salt spray or light mousse for texture, a blow dryer for direction, and matte clay or paste for finishing. What to skip: heavy gels, high shine pomades, and anything labeled extra hold. They glue the hair in place and the flow stops flowing. If your hair is fine, use even less product than you think you need. Fine hair collapses under weight fast.
Maintenance and Trim Schedule
The flow is forgiving as it grows, which is half its appeal, but it still needs a schedule. Wash 2 to 3 times a week rather than daily, since overwashing strips the oils that keep longer hair soft. Split ends travel up and ruin the soft ends the cut depends on, and the neckline is what separates a flow from simply not getting haircuts.
| Task | How often | Why it matters |
|---|---|---|
| Shaping trim | Every 6 to 8 weeks | Removes split ends and resets the layers |
| Neckline cleanup | Every 3 to 4 weeks | Keeps the grow out looking deliberate |
| Around the ears | Every 3 to 4 weeks | Stops the sides from flaring outward |
| Deep condition | Weekly | Long hair dries out fastest at the ends |
Who Should Skip the Flow
Honest answer: not everyone should grow one. If you want a true zero styling routine, the flow will annoy you, because it needs a few minutes with a dryer to look right. Very fine, thin hair often goes flat no matter how much layering goes in, and the result reads limp rather than flowing. A strongly receding hairline is another flag, since sweeping everything back puts the hairline on display. And if your workplace requires short, conservative hair, no styling trick makes 6 inches acceptable. In all of those cases a shorter textured cut will make you happier.
FAQs
Conclusion
The bro flow rewards patience more than any other haircut on this site. Grow it for months, trim it with intention, layer it for movement, and style it in five minutes with light product and a dryer. Do that and you get a cut that looks effortless because the effort went in months ago. Skip the grow out or overload it with product and it falls flat, literally. Commit to the length, use the barber script above, and let it flow. When you are ready for your next cut, the BarbersGrooming homepage has every style guide in one place.