Razor Fade Haircut, How a Straight Razor Builds the Sharpest Fade
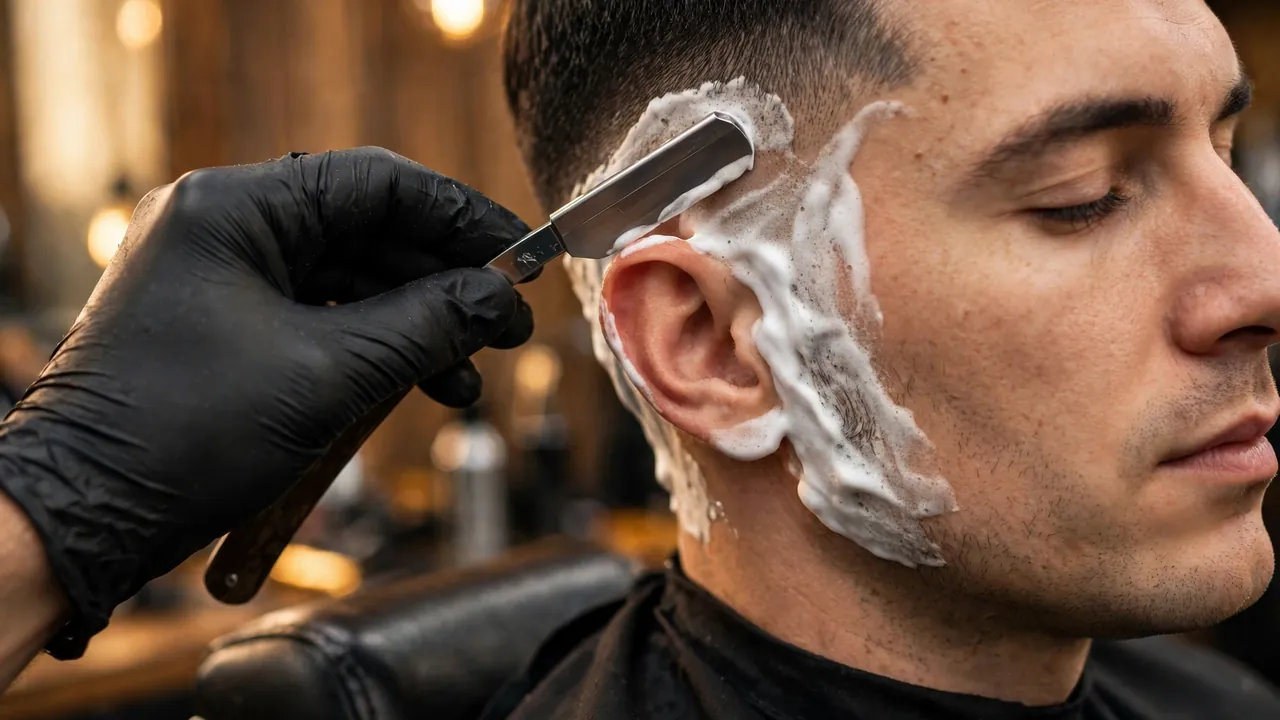
A razor fade is a skin fade where the shortest point is blended down to the scalp with a straight razor instead of clippers or a foil shaver. The blade cuts closer than any machine, so the bottom of the fade ends in a cleaner, sharper finish that looks crisper in photos and grows out with a softer line. It is one of the sharpest finishes in men’s grooming, and the style guides on the BarbersGrooming homepage put it in context with the fades men ask for most.
What a Razor Fade Actually Is
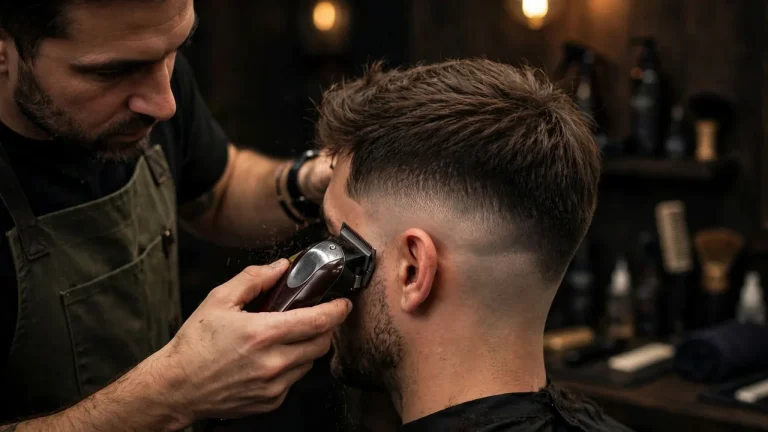
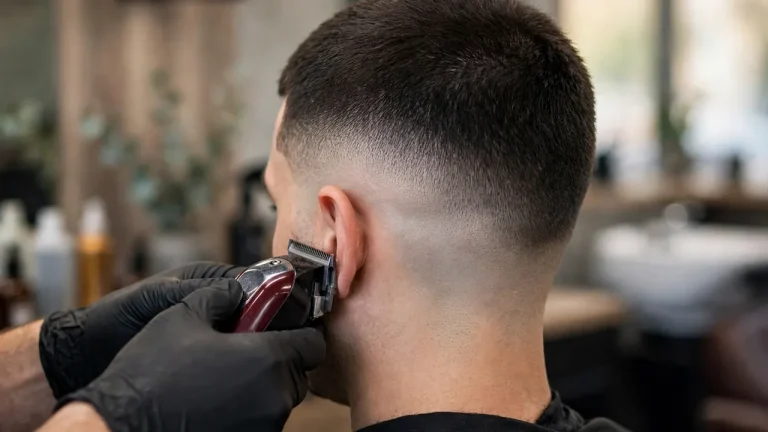
This cut is not a different shape from a regular fade. It is the same gradient, built with a different tool at the bottom. Your barber cuts the bulk of the fade with clippers, the same way any fade is built, and then switches to a straight razor for the final blend where the hair meets the scalp. The razor shaves the stubble clean in short, controlled strokes, removing the faint shadow that even a foil shaver leaves behind. That is the whole trick. The skin fade goes to bare scalp, and the blade-finished version goes to bare scalp with a razor, which is why it photographs with a sharper edge.
The shaving part of the appointment feels like a hot towel service worked into a haircut. Most barbers apply warm lather to the lower sides and nape, stretch the skin taut, and work the blade with the grain first, then against it for the closest finish. A straight razor is simply a folding blade held at a shallow angle, and in trained hands it gives the barber more control over the blend line than a clipper ever could. The blend line can sit straight across the sides or curve down behind the ear, similar to a drop fade, and the razor makes either version look cleaner.
Why does this matter to you in the chair? Because the bottom of a clipper fade is the part that shows wear first. Foil shavers leave micro-stubble that casts a faint shadow, and within a few days that shadow softens the contrast you paid for. A razor-blended bottom stays glassy for longer, so the cut holds its crisp look through more days. It also means the neckline and the area behind the ears come out sharper, which is where cheap fades usually fall apart.
Razor Fade vs Skin Fade vs Zero Fade vs Taper Fade
These four cuts get mixed up constantly, and barbers hear the wrong name for the right cut every day. The table below lays out the real differences so you can order with confidence.
| Cut | Shortest point | Tool used for the blend | Contrast level |
|---|---|---|---|
| Razor fade | Bare scalp | Straight razor for the final blend | Highest, with a glassy bottom |
| Skin fade | Bare scalp | Clippers plus foil shaver or trimmer | High, with faint stubble shadow |
| Zero fade | Very short stubble, not scalp | Clipper with no guard, lever closed | Medium, softer at the bottom |
| Taper fade | Short, but keeps visible length | Clippers, concentrated at the edges | Lowest, subtle and office friendly |
If you are still unsure which of these you actually want, the taper fade comparison breaks down where each cut sits and how to ask for it.
How It Differs From a Skin Fade
The finished look is nearly identical on day one, and most people could not tell them apart in a photo. The difference is in the tool and the texture of the shortest section. A skin fade finishes the bottom with a foil shaver or a zero-gapped trimmer, which leaves a whisper of stubble. The razor finish uses an actual blade, which removes that whisper. The razor version looks a touch sharper and stays cleaner-looking for an extra few days. It also costs more in most shops and takes a few minutes longer, because the lather and blade work cannot be rushed. If your barber offers both, pick the blade finish when you want maximum crispness and the regular skin fade when you want the same shape at a lower price.
How It Differs From a Zero Fade
A zero fade never reaches bare scalp. The shortest point is cut with a clipper and no guard, which leaves visible stubble, like a five o’clock shadow wrapped around the sides. The razor finish goes one step further and shaves that stubble off completely. The zero fade is the softer, lower-maintenance option, and it suits men who want a clean fade without the high-contrast look of skin showing through. The blade finish is the bolder call. Ask for a zero fade if you like the gradient but want it to grow out quietly. Ask for the razor finish if you want the sharpest line the shop can produce.
The Seven Variants Worth Knowing
The name describes the finishing technique, not the height of the fade. You still have to choose where the blend sits, and that choice changes the whole character of the cut. These are the seven versions barbers cut most often, plus the two specialty finishes at the end.
Low Razor Fade
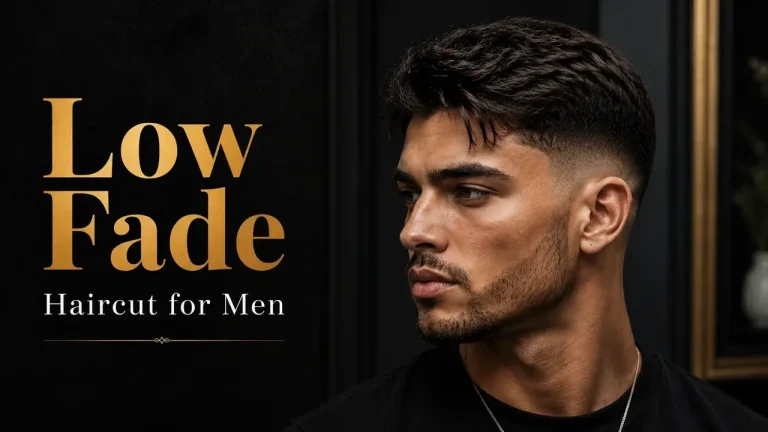
The low version keeps the blend near the bottom of the sides, just above the ears and the nape. It is the most understated version, because the shaved section is small and the transition into the longer hair is gradual. This is the version to pick if you want the razor-sharp finish without a dramatic contrast. It pairs well with longer tops, textured crops, and curtain-style partings, and it is the easiest version to wear in a conservative workplace. The trade-off is that the razor work is concentrated in a narrow band, so the “wow” factor is subtler than the higher placements.
Mid Razor Fade
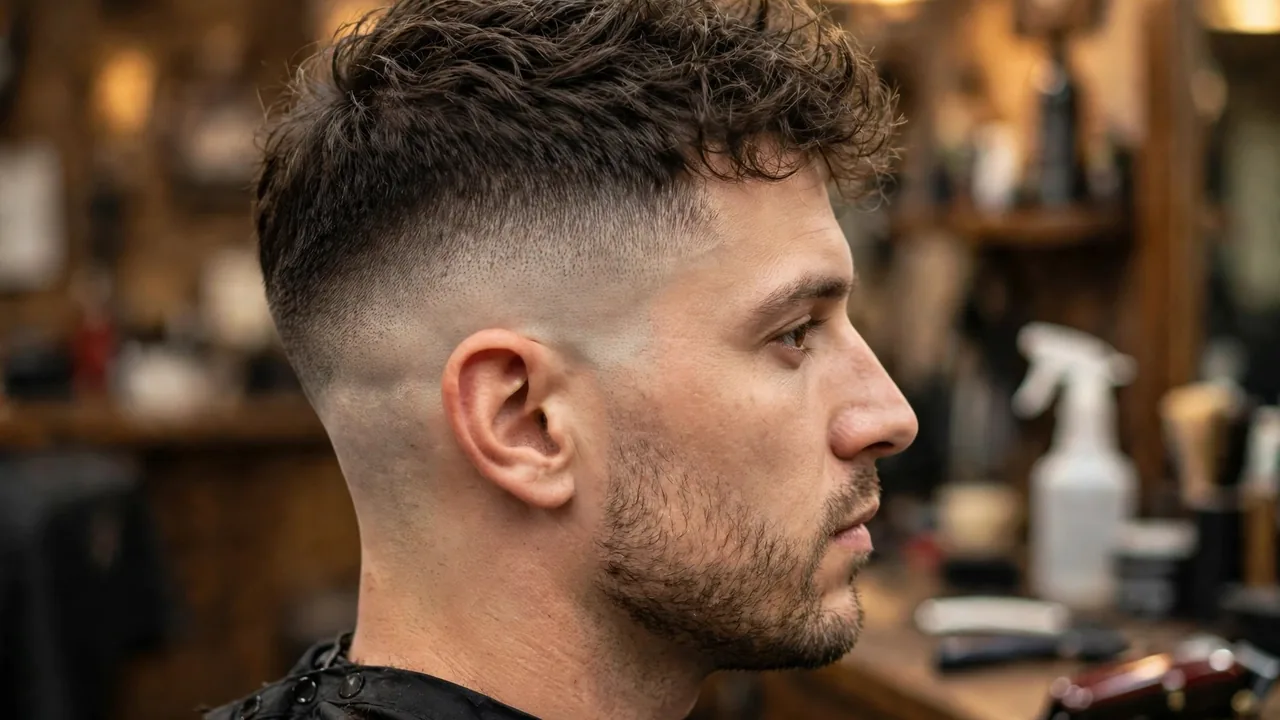
The mid version sets the blend line around the temples, roughly halfway up the sides. It is the most popular placement because it balances contrast and wearability. You get a visible shaved section with a clean razor finish, but enough hair above it to keep the cut from looking severe. The low, mid and high fade heights each suit different face shapes, and the mid placement flatters most of them because it draws the eye sideways rather than up or down. If you are getting this cut for the first time, start here.
High Razor Fade
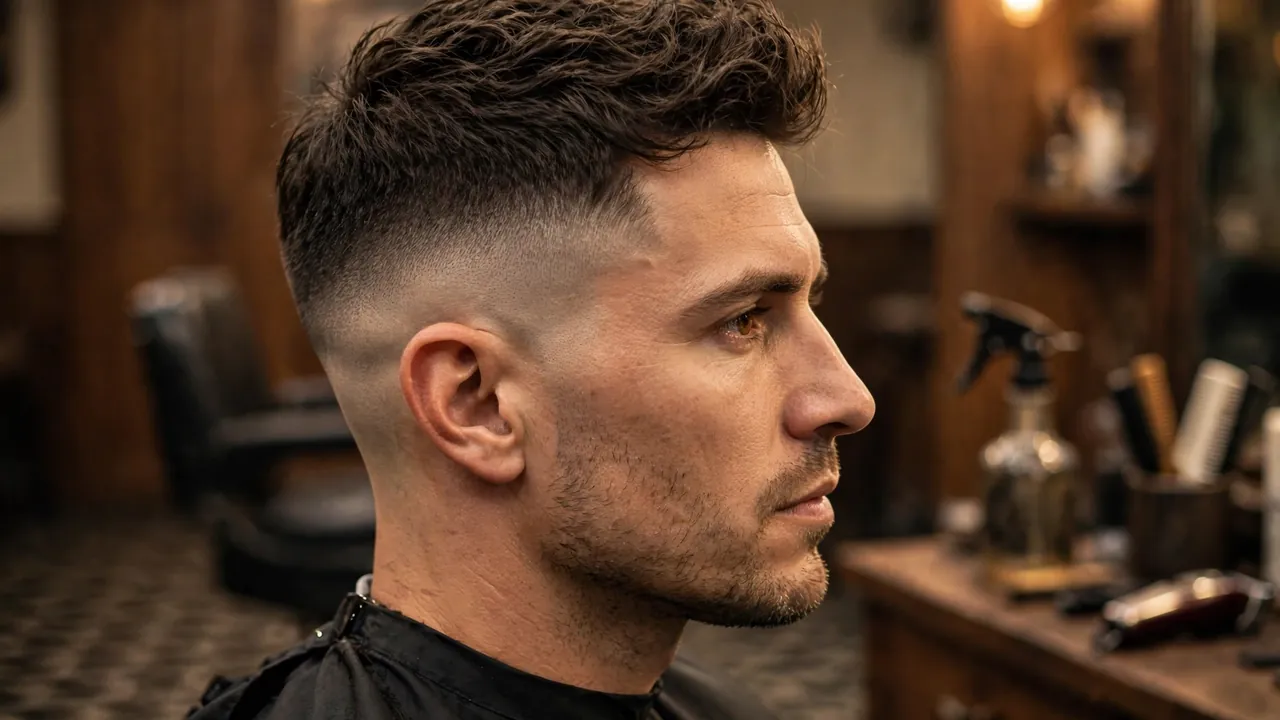
The high version pushes the blend well above the temples, close to the crown. It creates the strongest contrast of any variant, with a large shaved section finished to a glassy smoothness by the blade. This is the boldest version and the one that shows off the razor technique most clearly, because there is simply more shaved surface to admire. It suits men with strong jawlines and thicker hair on top, since the high contrast needs a solid top to balance it. It also needs the most frequent touch-ups, because regrowth across a large shaved area shows fast.
Medium Razor Fade
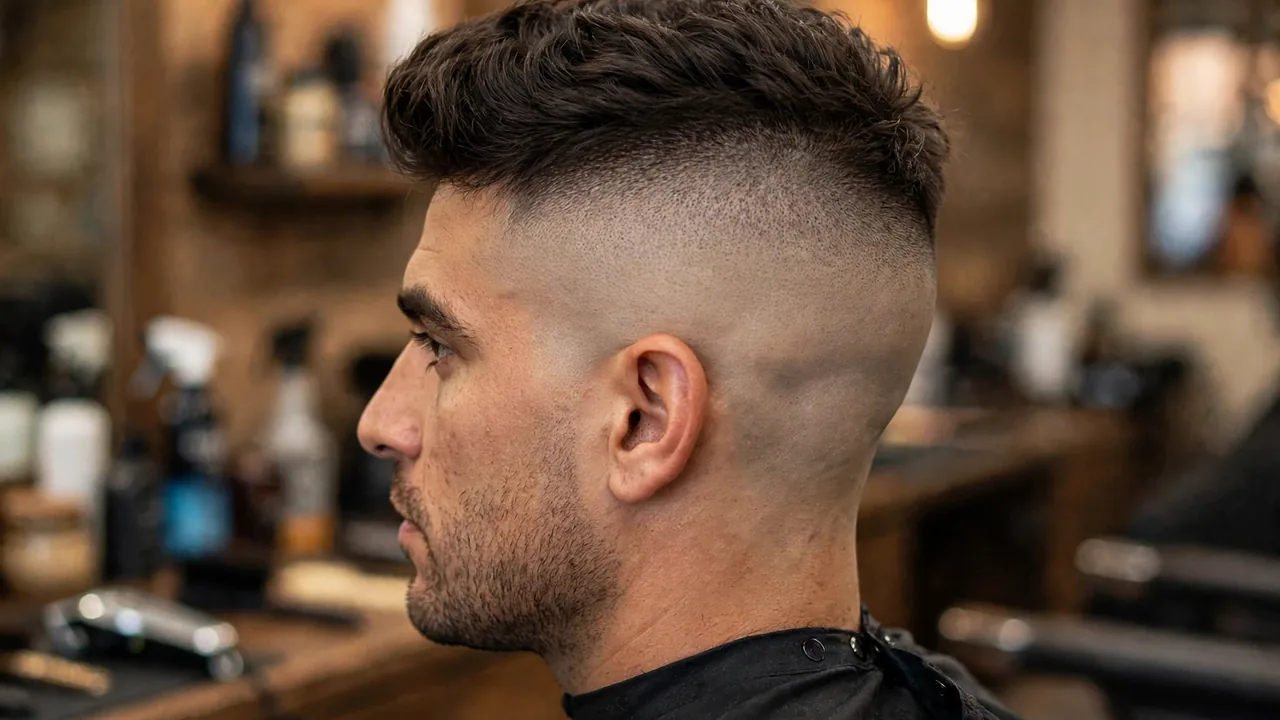
The medium version sits between the low and mid placements, with the blend line just below the temples. Some shops treat medium and mid as the same cut, but the medium version keeps a touch more length at the sides, which makes it slightly softer than a true mid fade. Think of it as the compromise pick when the low feels too subtle and the mid feels too bold. It works well with wavy and curly tops, because the extra length at the sides gives the curls room to sit without looking disconnected from the fade.
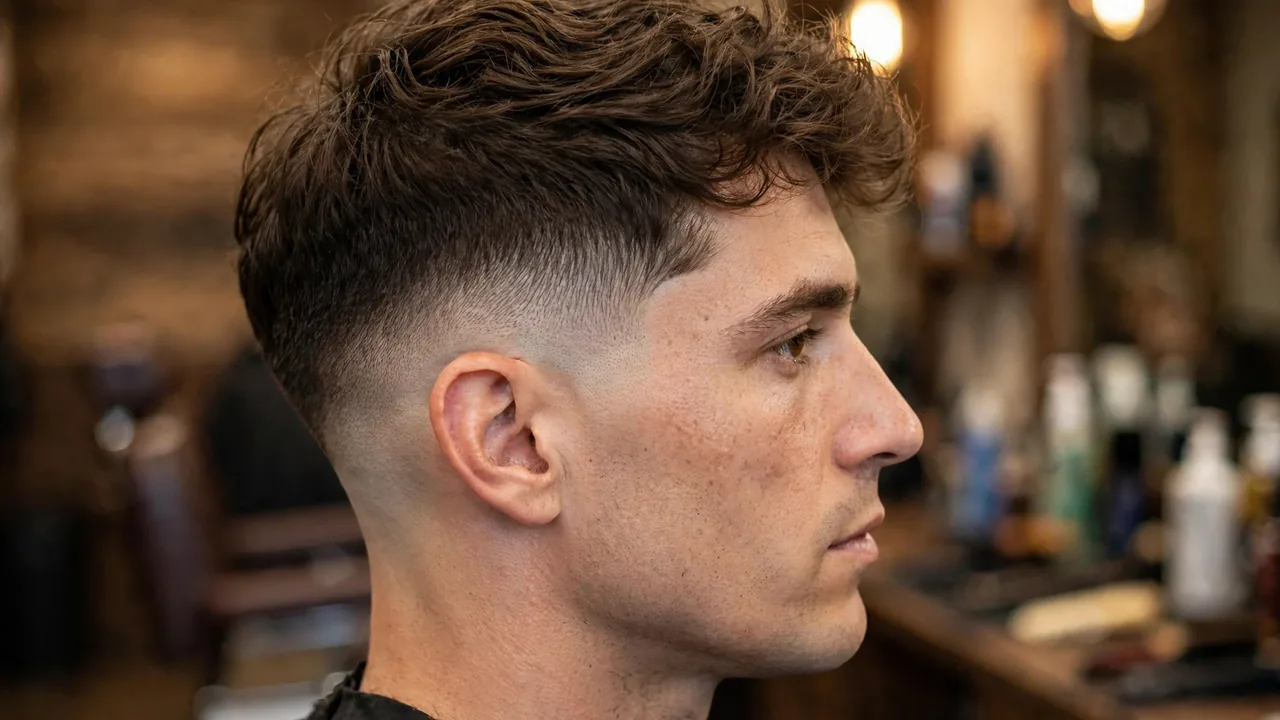
Straight Razor Fade
What does the full-commitment version look like? The barber uses the straight razor not just for the final blend but for the entire shaved section and the lineup. The whole bottom of the fade is lathered and shaved, and the hairline, sideburns, and neckline are all edged with the blade. The result is the cleanest version of this cut that exists, with every boundary drawn like a pencil line. It takes the longest in the chair and costs the most, but nothing else looks quite like it. Ask for this by name when you want the complete treatment rather than just a razor finish on a standard fade.
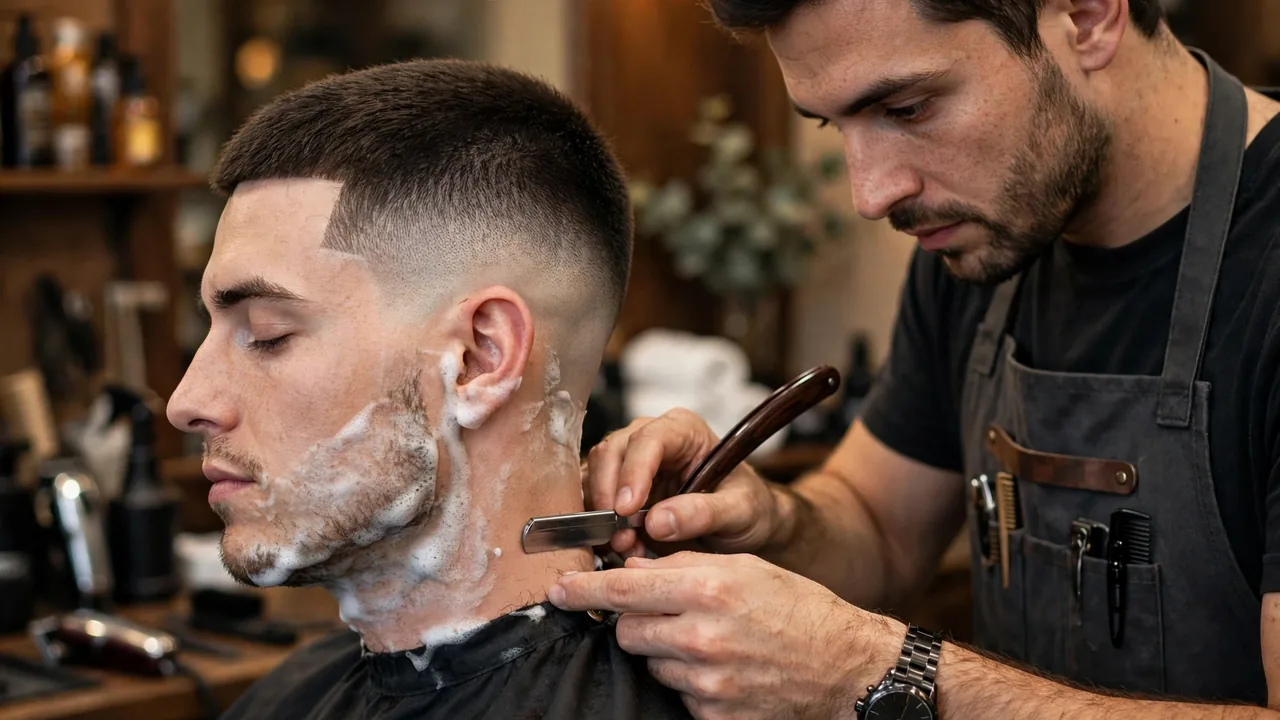
Bald Razor Fade
The bald version takes the shaved section all the way down to bare scalp with no visible stubble at all. It is the highest-contrast finish in this family, and it suits men with an even skin tone on the sides, because every mark shows. Ask for it when you want the boldest possible bottom, and skip it if your scalp has scars or discoloration you would rather not spotlight.
Shadow Razor Fade
The shadow version stops one step short of bare scalp, leaving microscopic stubble that reads as a soft gray gradient rather than skin. The blade still does the final pass, so the transition stays smooth, but the finish is gentler and grows out more quietly. It is the right call for conservative workplaces and for men trying the razor finish for the first time.
Razor Line Work and Hair Designs
The glassy bottom of this cut is also the smoothest canvas a barber gets for etched designs. Once the blade has taken the lower sides to skin, the barber can carve lines and shapes with a trimmer or the corner of the razor, and the design reads sharp against the bare scalp. The most requested patterns are the single razor line, the double parallel line, curved swoops that follow the fade, geometric angles, zigzags, and surgical lines that run from the temple into the fade. Temple designs, small shapes etched just above the ear, are the subtler version.
Designs change the upkeep math. A plain razor finish holds for about two weeks, but an etched line starts to blur after roughly seven days as stubble fills it in, so most men with designs book weekly touch-ups. Ask for the design at the end of the appointment, not the start, because the barber needs the finished fade as a guide. Keep the design simple the first time. Fine detail looks great on day one and muddy by day five.
Which Placement Suits Your Face Shape
Fade height changes how long or wide your face reads, so match the placement to your bone structure before you commit.
| Face shape | Best placement | Why it works |
|---|---|---|
| Round | High | Adds height on the sides and elongates a soft jawline |
| Square | Mid or low | Softens a strong jaw instead of stacking width on it |
| Oval | Any placement | Balanced proportions carry every height well |
| Diamond | Mid or low | Keeps the extremes away from wide cheekbones |
| Oblong | Low | Adds width at the sides instead of more length up top |
How Your Hair Texture Changes the Razor Work
Straight hair shows every flaw in the blend, because there is no wave or curl to hide behind. Barbers use lighter pressure and shorter strokes on straight hair, and they check the blend from multiple angles before calling it done. Tell your barber if your hair lies flat, because rushing this texture is how harsh lines happen.
Wavy hair is the most forgiving texture for this cut. The wave direction disguises small blending errors, and the barber can cut with the wave to make the transition look smooth. This is the texture that grows out the most gracefully, because the waves soften the regrowth line.
Coarse hair needs a sharper blade and more prep. Barbers often apply a pre-shave oil under the lather on coarse hair and make several light passes instead of one heavy one, because coarse stubble dulls the edge fast. If your hair is coarse, expect the razor portion of the appointment to take a few minutes longer.
Fine hair needs the gentlest touch. Heavy pressure on fine hair can leave patchy spots where the blade takes the scalp down unevenly, so the barber keeps the angle shallow and the strokes light. The skip section above already covers why very fine, light-colored hair may not be worth the razor premium at all.
Tops That Pair Well With This Cut
The razor finish only describes the sides and back, so the top is yours to choose. The pairings below are the ones barbers see requested most, and each suits a different kind of hair.
A textured crop is the most natural partner. The choppy top contrasts with the glassy sides, and the pairing works on straight, wavy, and curly hair alike. A pompadour or a quiff uses the sharp sides as a frame for height on top, which suits men with thick hair who want a bolder silhouette. A buzz cut keeps everything short and makes the razor finish the star of the cut, while a French crop or a crew cut keeps the top neat and low maintenance. The faux hawk borrows the mohawk attitude without the shave, and a slick back turns the whole cut formal. Long hair on top with a razor finish underneath is the strongest contrast of all, and it pairs best with low or mid placements so the top and sides stay connected.
The Razors Barbers Actually Use
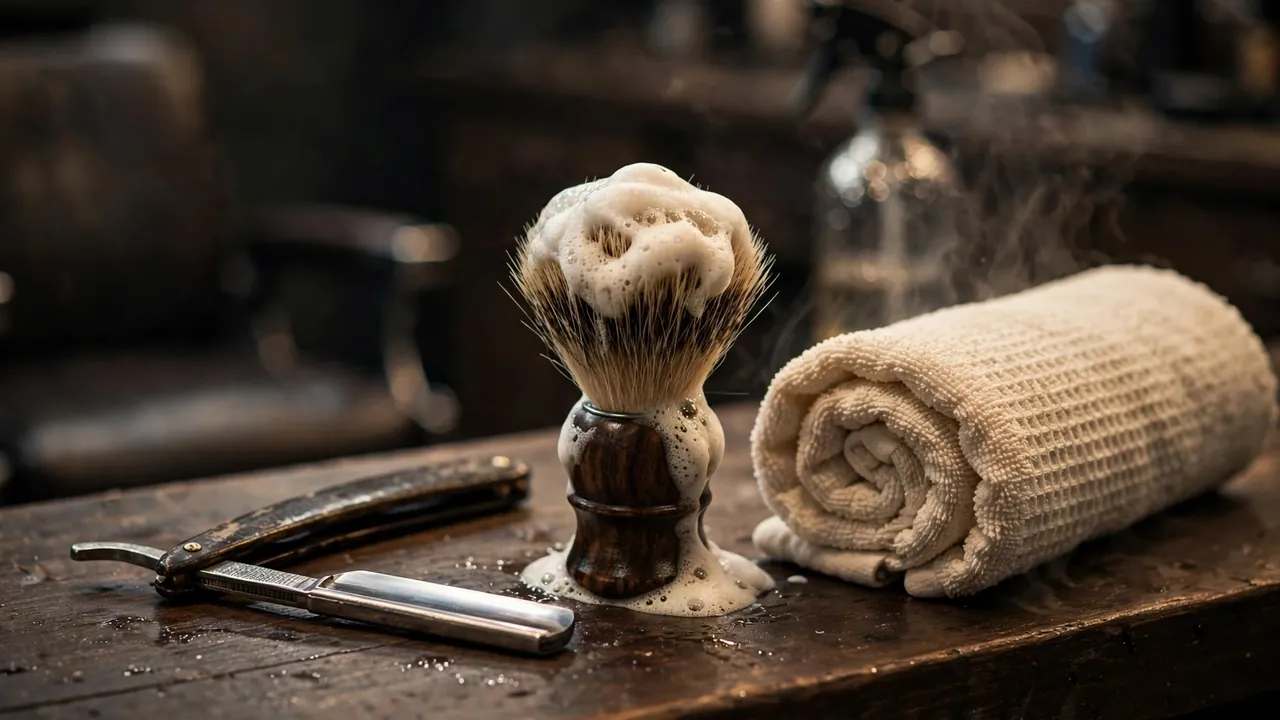
Not every razor in the shop is the same tool. The traditional straight razor has a fixed blade the barber strops before each use, and it gives the closest possible finish in experienced hands. The shavette looks like a straight razor but holds a disposable blade, which is why most modern shops use it, because a fresh blade for every client is the hygienic standard. The Feather Artist Club is the Japanese professional version of the shavette, known for an exceptionally sharp edge out of the box. Modern replaceable-blade razors are the newest option, built for the same purpose with guarded designs that lower the nick risk.
Ask your barber to open a fresh blade in front of you. It is the simplest hygiene check in the shop, and any good barber does it without being asked. A dull or reused blade tugs instead of cutting, which is the main cause of razor burn from a fade, so the blade matters as much as the hand holding it.
The Exact Barber Script for a Razor Fade
Walk in with this sentence and you will get the right cut in any competent shop. Adjust the bracketed parts to match the variant you want.
“I want a [low / mid / high] fade on the sides and back, finished with a straight razor at the bottom so it blends to bare skin. Keep the top [length and style], blend the sides into it with no harsh line, and edge the hairline and neckline with the razor too.”
Then add one detail that prevents most disappointing results with this cut. Tell the barber how you part and style your hair, because the blend height should respect the way the top falls. A barber who knows you wear it forward will build the fade differently from one who knows you push everything back. If you want to see the blending technique before you book, this skin mid fade tutorial shows a barber building the same kind of gradient step by step, so you will recognize good work when you see it in the chair.
Bring a photo if you have one. The words get you most of the way, but a photo of the exact placement you want removes the last bit of guesswork, especially between the mid and medium versions where shops define them differently.
Maintenance and How Often to Get It Cut
This cut looks its best for a shorter window than a clipper fade, because the whole point of the cut is the glassy bottom, and regrowth ruins that first. The table below gives honest touch-up rhythms for each placement. Your hair growth speed moves these numbers by a few days in either direction.
| Fade placement | When regrowth first shows | Recommended touch-up rhythm |
|---|---|---|
| Low placement | Around 10 to 14 days | Every 2 to 3 weeks |
| Mid and medium placement | Around 7 to 10 days | Every 2 weeks |
| High placement | Around 5 to 7 days | Every 1 to 2 weeks |
| Full straight-razor version | Around 5 to 7 days | Every 1 to 2 weeks |
Between appointments, keep the shaved section looking fresh with a gentle exfoliating wash two or three times a week. Dead skin dulls the glassy finish and can trap new growth into ingrown hairs, and a light scrub prevents both. Moisturize the faded area after every wash, because shaved scalp dries out faster than hair-covered skin and dry skin makes regrowth look patchy. Skip heavy oils on the shaved section. They clog the fresh follicles and cause the exact bumps you are trying to avoid.
Do not try to re-shave the fade yourself with a straight razor between visits. The blend is built on a curve your hand cannot follow in a mirror, and one wrong stroke leaves a bald patch that takes weeks to fix. A foil shaver or a trimmer with no guard is fine for a quick neckline cleanup, but leave the blend to the barber.
Who Should Skip the Razor Fade
This is a great cut, but it is not a universal one. Be honest about where you fall before you book.
Skip it if your skin reacts badly to shaving. The straight razor passes over the same skin multiple times, and men prone to razor burn, ingrown hairs, or folliculitis will feel it for days. If a normal face shave already irritates you, this cut multiplies that irritation across the whole lower head. The same goes for active skin conditions on the scalp or nape. Eczema, psoriasis, or frequent breakouts in the fade zone mean the blade will aggravate what it touches, so a clipper fade is the safer choice until the skin calms down.
Skip it if your hair is very fine and light colored. This style lives on contrast, on the visible difference between shaved skin and hair. On pale, fine hair that contrast barely registers, so you pay the razor premium for an effect nobody can see. A textured crop or a standard taper will serve you better.
Skip it if you stretch haircuts past a month. This cut, three weeks overdue, does not look like a lived-in fade. It looks like a grown-out skin fade with a fuzzy bottom, and the whole reason you paid for the blade is gone. If your schedule only allows a cut every five or six weeks, pick a cut that ages gracefully instead, and ask your barber about a temple fade, which keeps the crisp edges around the temples and neckline without demanding constant upkeep.
Finally, skip it if your workplace frowns on high-contrast cuts. The low version passes almost everywhere, but the high version is an aggressive look, and some offices and schools still read it that way. Know your room before you commit to the boldest variant.
FAQs
Conclusion
The razor fade is the sharpest finish a fade can have, because a blade simply cuts closer than any machine. The glassy bottom, the drawn-on edges, and the extra days of crispness are real advantages, and they are why barbers keep reaching for the straight razor even as shavers get better. The price is upkeep. This cut demands a two-week rhythm and honest skin, and it punishes anyone who stretches it. Pick the right placement, use the script, bring a photo, and book the touch-up before you leave the chair. Do that, and this cut repays every dollar you spend with the cleanest sides you have ever worn.